
You’ve purchased one of Google’s cute Home Mini smart speakers, but now that you’ve unpacked the box and plugged it in, you’re stumped as to how to get it all set up. Fortunately, it’s a simple process.
With step-by-step instructions, here’s how to set up the Google Home Mini.
- Install and start the Google Home app on your smartphone or tablet.
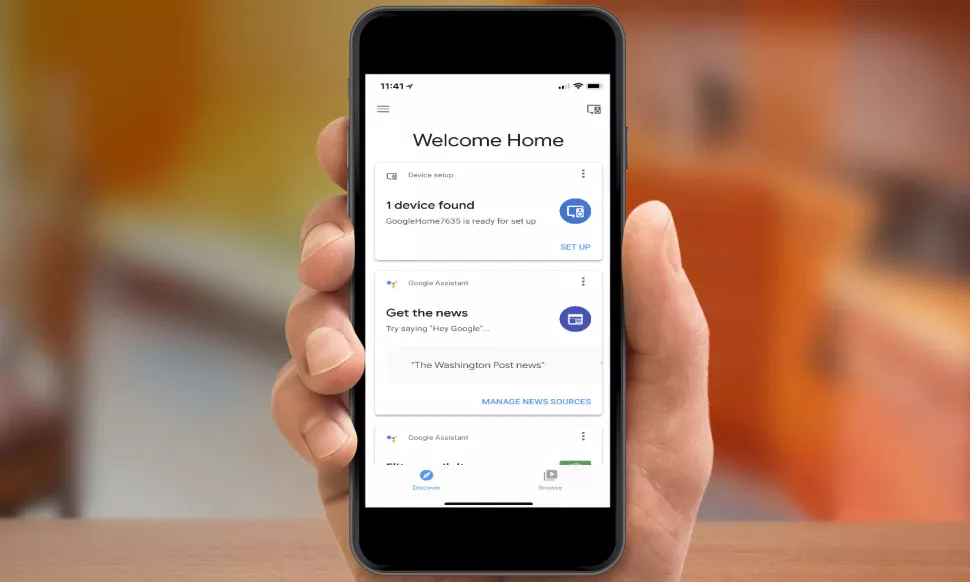
- The Home Mini should be detected immediately on the app’s initial screen. (If it doesn’t, hit the Device button in the upper right, then tap Add New Device to obtain directions on where to look for the device.) Select Set Up from the drop-down menu.
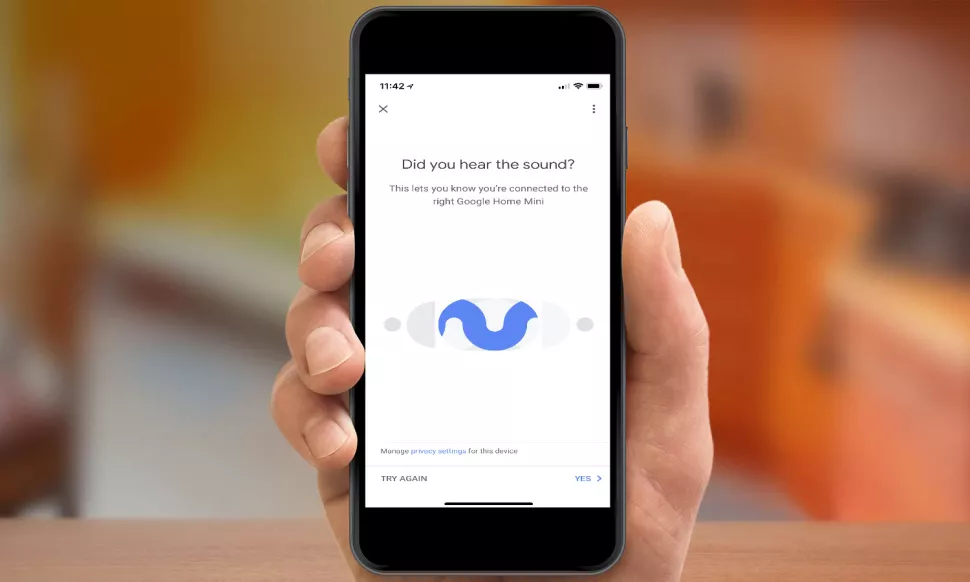
- You should hear a sound from the Mini if you’ve connected to the proper device. In the app, select Yes.
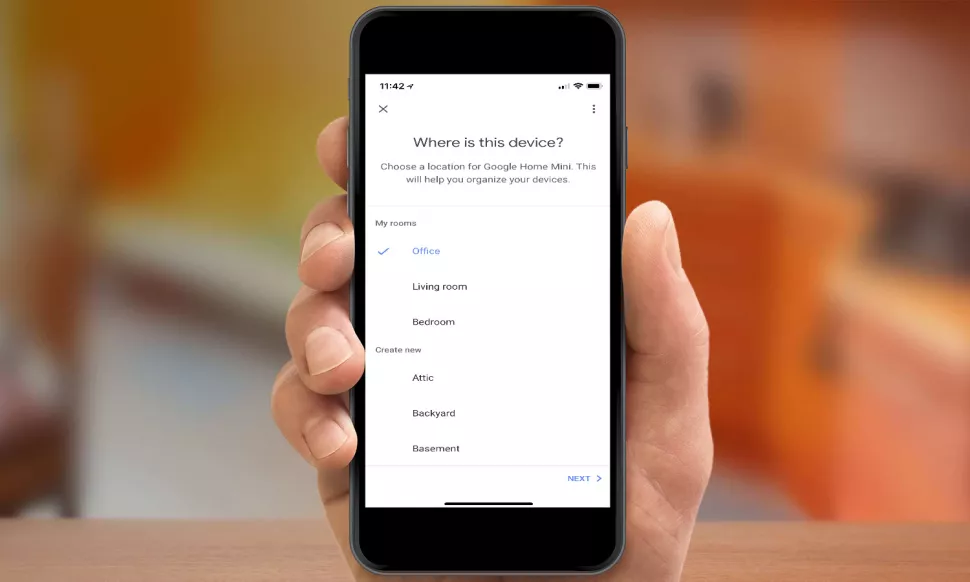
- Next, select the room where your Google Home Mini will be installed.
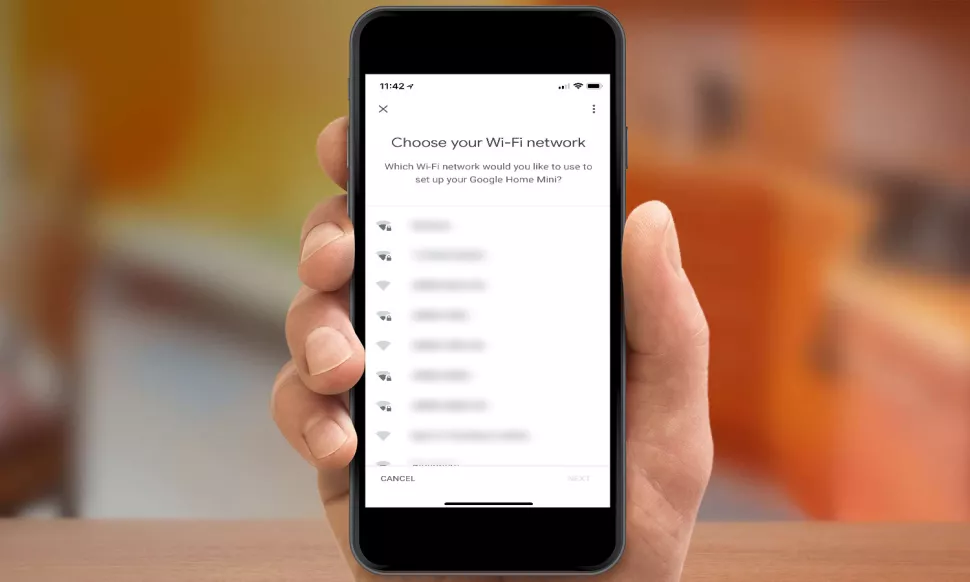
- Tap Next after selecting your Wi-Fi network
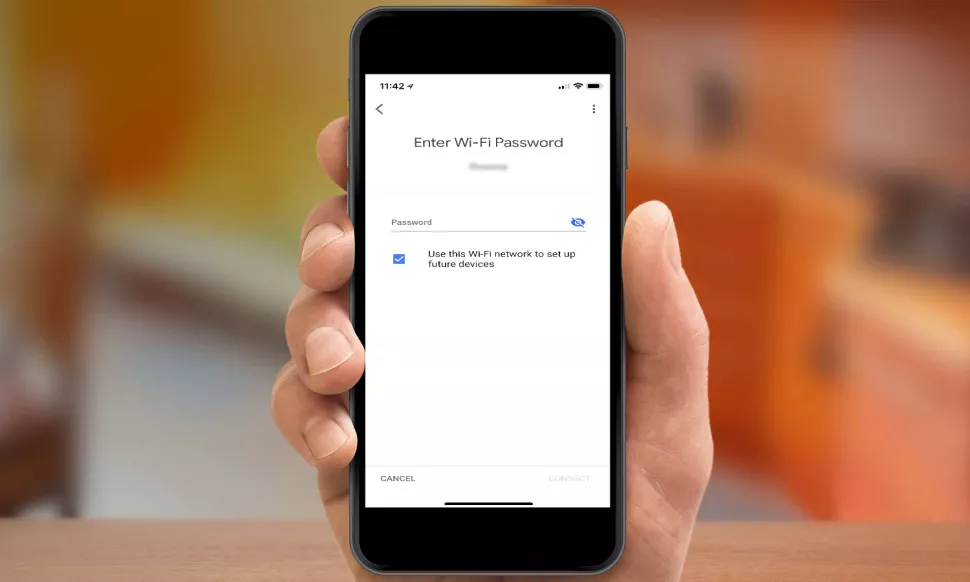
- Tap Connect after entering your network’s password.
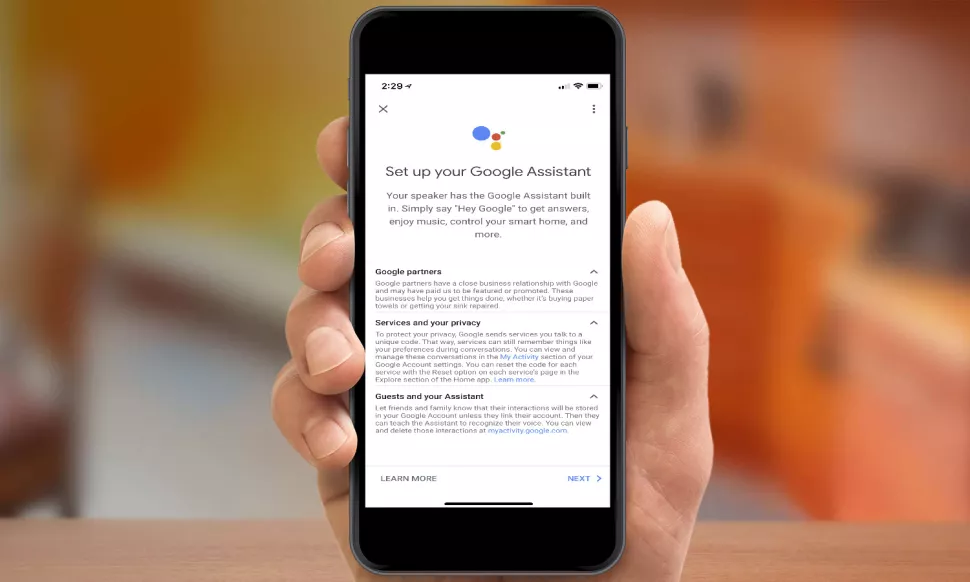
- Take a look at the privacy information. Tap Next when you’re finished.
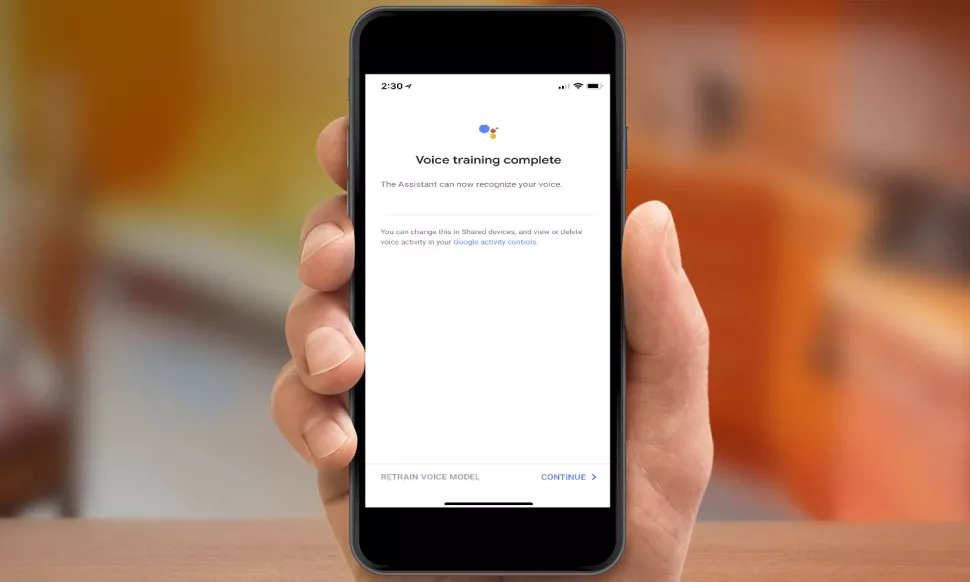
- Follow the steps to teach the Google Home Mini to recognize your voice if you want customised results. (You can just hit Yes I’m In if you’ve previously taught another Google Home to recognize your voice.) Tap Continue once the training is finished.
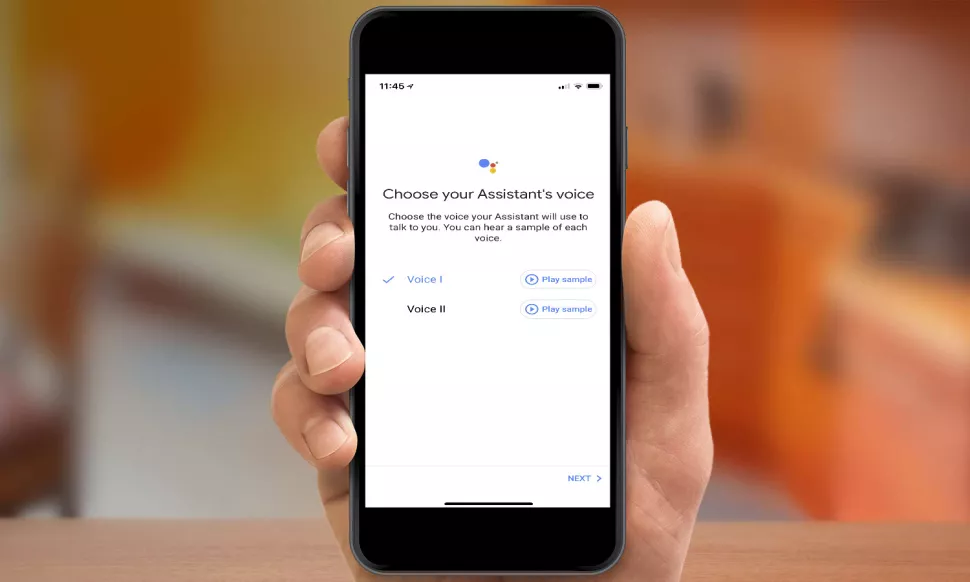
- Google Home Mini allows you to choose from a variety of voices; you may listen to samples of each before deciding. Tap Next once you’ve decided on one. For a limited time, you may use John Legend’s voice to play Google Assistant.
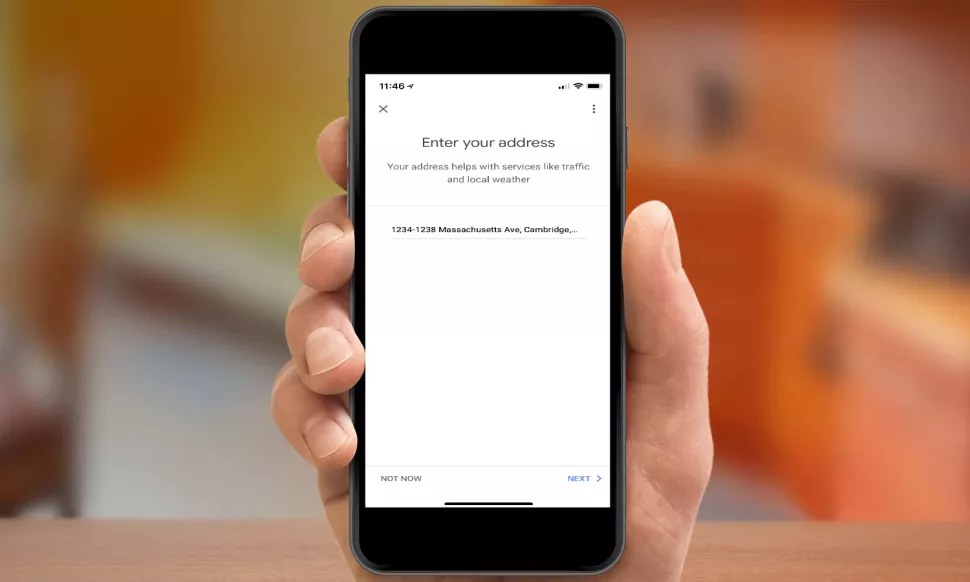
- If you wish to obtain tailored local statistics for traffic, weather, and other services, enter your address.
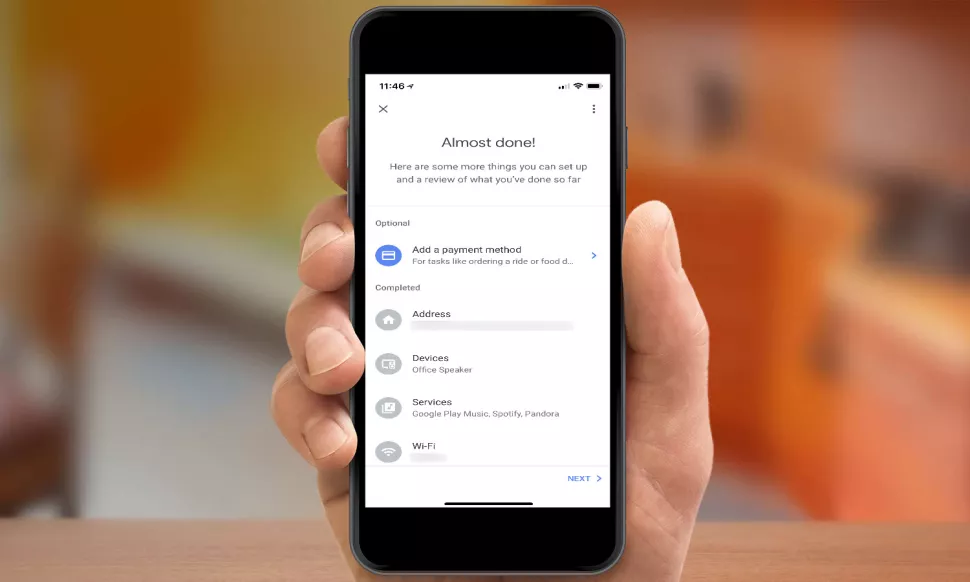
- Review the information you’ve supplied and, if you wish to use Google Home Mini to make purchases, add a payment method. Tap Next when you’re finished.
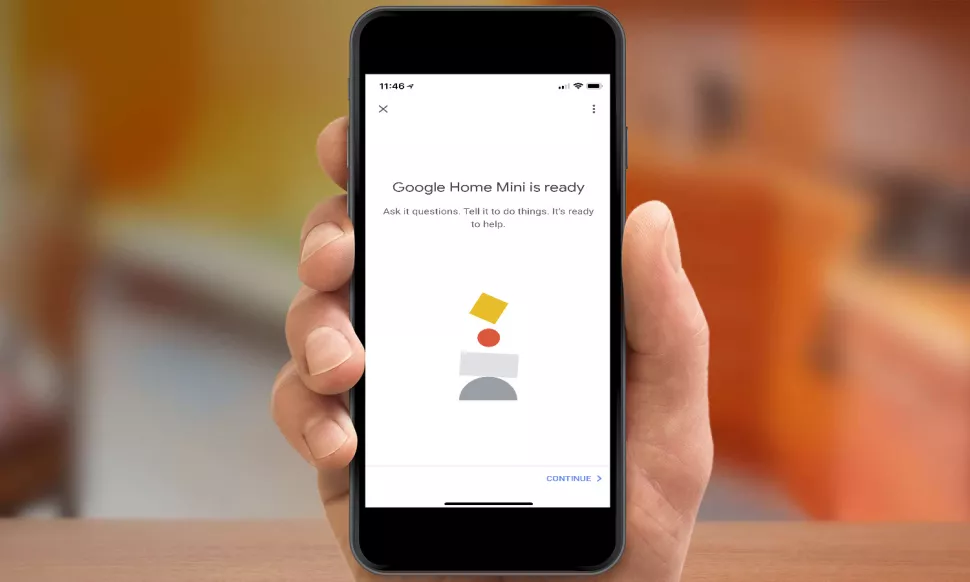
- Press the Continue button.
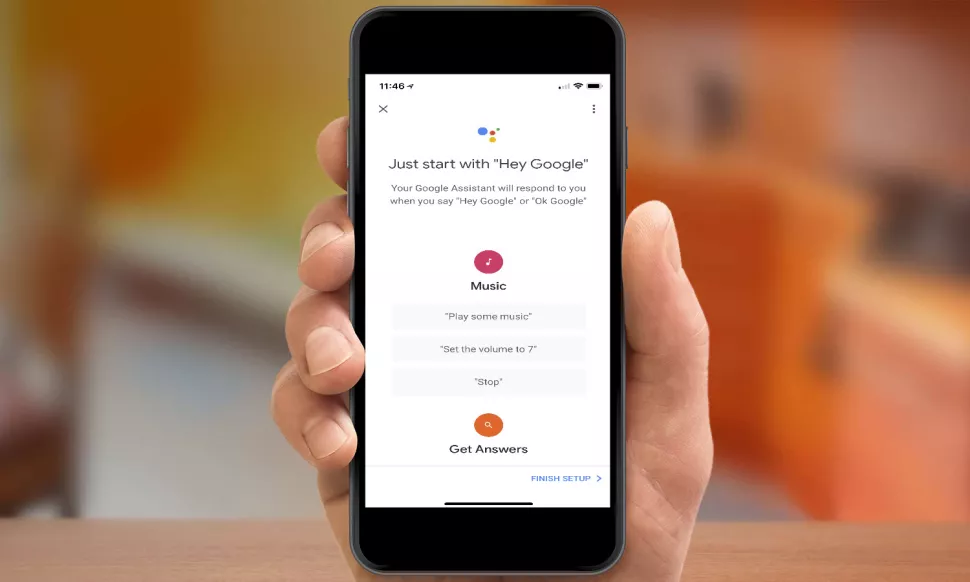
- On the last screen, you’ll see some example instructions that you may use. When you’re finished, tap Finish Setup. You’re ready to go!
Editor’s choice:
Installing a HomePod Mini


